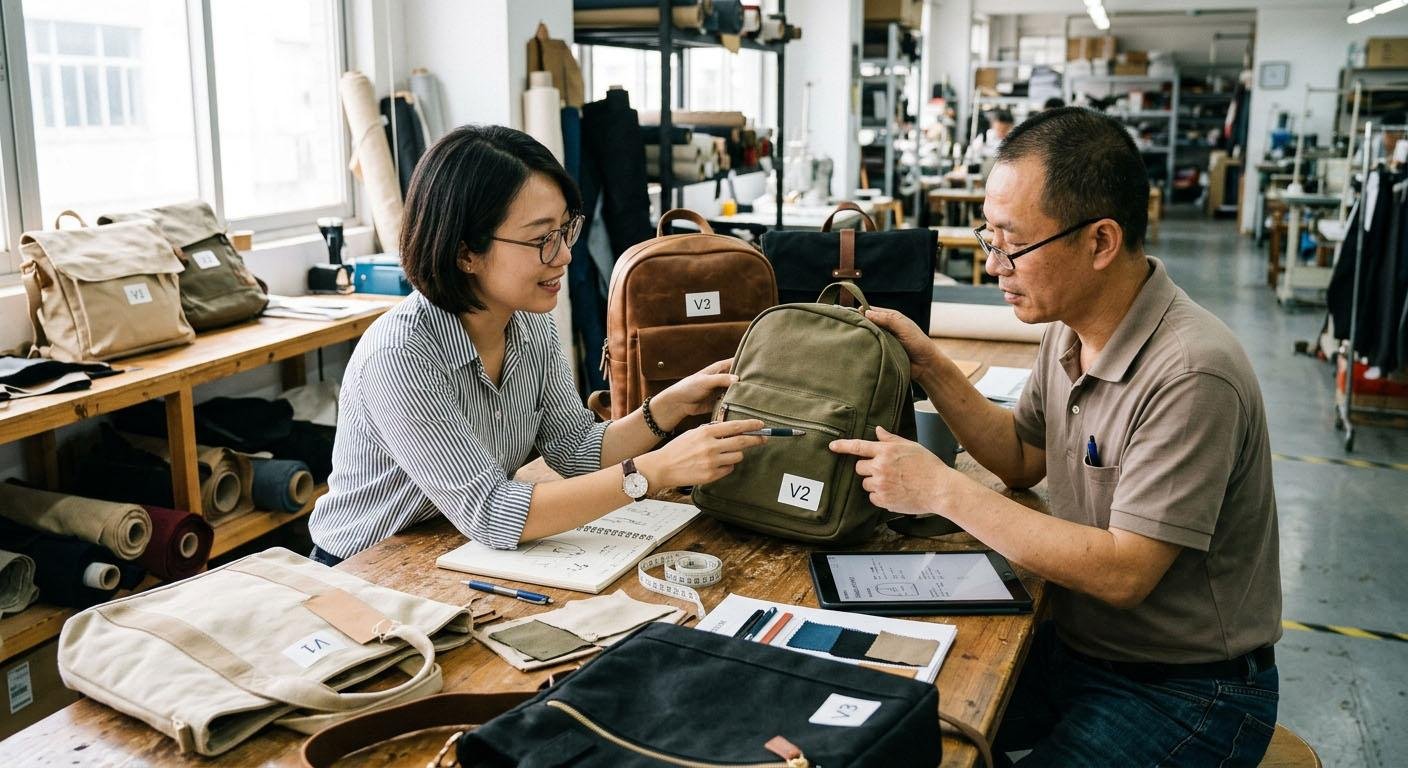
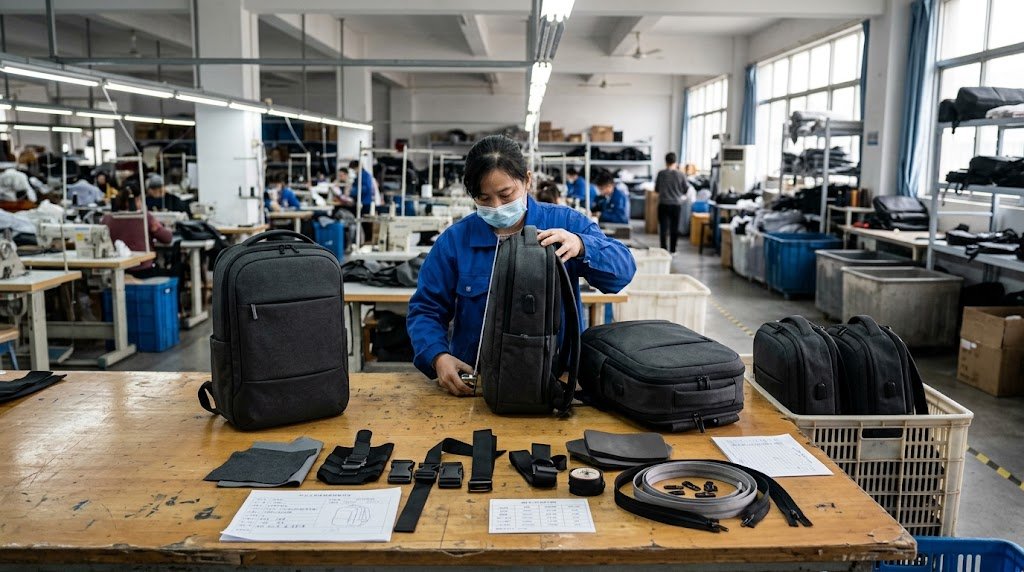
Updated October 2026 | Reviewed from a backpack manufacturing perspective
Backpacks are made through design review, material preparation, pattern making, sampling, cutting, sewing, assembly, quality inspection and packing.
The sewing line is only one part of the process. Consistent bulk production depends on accurate patterns, approved materials and clear construction requirements before thousands of pieces are repeated.
A small decision at an early stage can affect everything that follows. A tight zipper curve can make sewing difficult, a change in fabric stiffness can alter the finished shape, and an incorrectly reinforced strap attachment may not show a problem until the backpack is loaded.
For brands and importers, understanding the manufacturing process helps clarify what needs to be approved before production moves forward—and which changes become expensive once materials have already been cut.
Scope of this guide: This article focuses mainly on sewn backpacks. Welded waterproof bags, molded constructions and other specialized products may require different joining methods and production controls.
Backpack Manufacturing Process at a Glance
A typical custom backpack project moves through eight main stages.
| Step | Manufacturing Stage | Main Work |
|---|---|---|
| 1 | Design and specification review | Confirm dimensions, functions, construction, branding and commercial requirements |
| 2 | Material selection and preparation | Select fabrics and components, confirm specifications and inspect production materials |
| 3 | Pattern making and sampling | Develop patterns, evaluate physical samples and approve the production version |
| 4 | Cutting and component preparation | Cut and organize panels, padding, reinforcement and other parts |
| 5 | Sewing and sub-assembly | Prepare pockets, shoulder straps, zipper panels, lining and other sections |
| 6 | Final assembly | Join prepared sections and complete binding, closures and remaining fittings |
| 7 | Finished-product inspection | Check the assembled backpack against approved specifications and inspection criteria |
| 8 | Packing and shipment preparation | Clean, pack, label and carton the finished products |
The exact sequence varies with the product. A simple school backpack may require fewer components and sewing operations than a multi-compartment travel backpack or technical hiking pack.
Step 1: Confirm the Backpack Design and Production Specifications
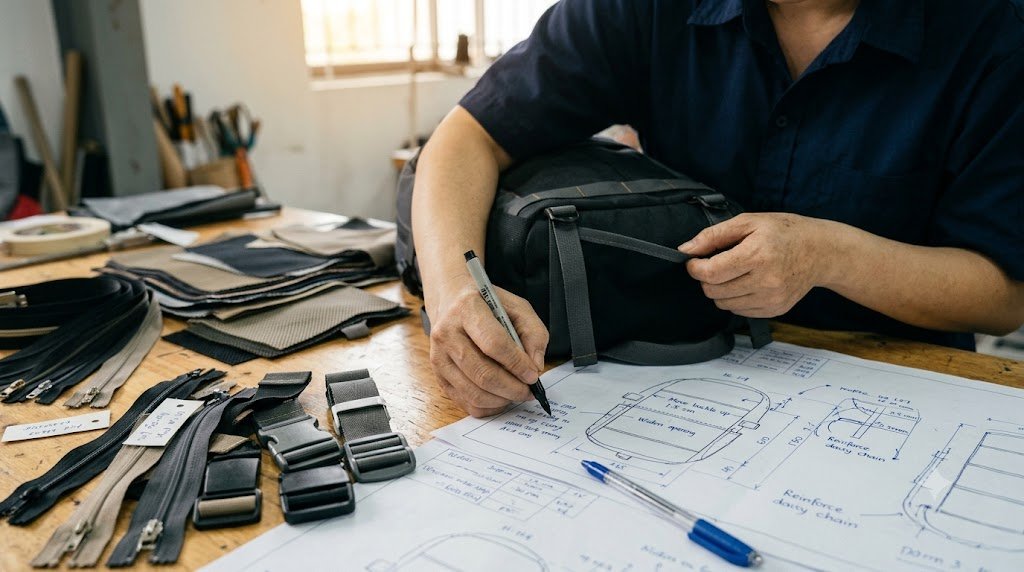
The manufacturing process starts by defining what the backpack needs to do.
A buyer may provide:
- a tech pack
- technical drawings
- reference photos
- a physical sample
- sketches
- or a basic product concept
These are useful starting points, but they do not always contain enough information for repeatable bulk production.
Before sampling, the factory normally needs to confirm:
| Development Area | What Needs to Be Confirmed |
|---|---|
| Intended use | Target users, carrying conditions and expected contents |
| Dimensions and fit | Finished measurements and the size of any laptop or equipment that must fit |
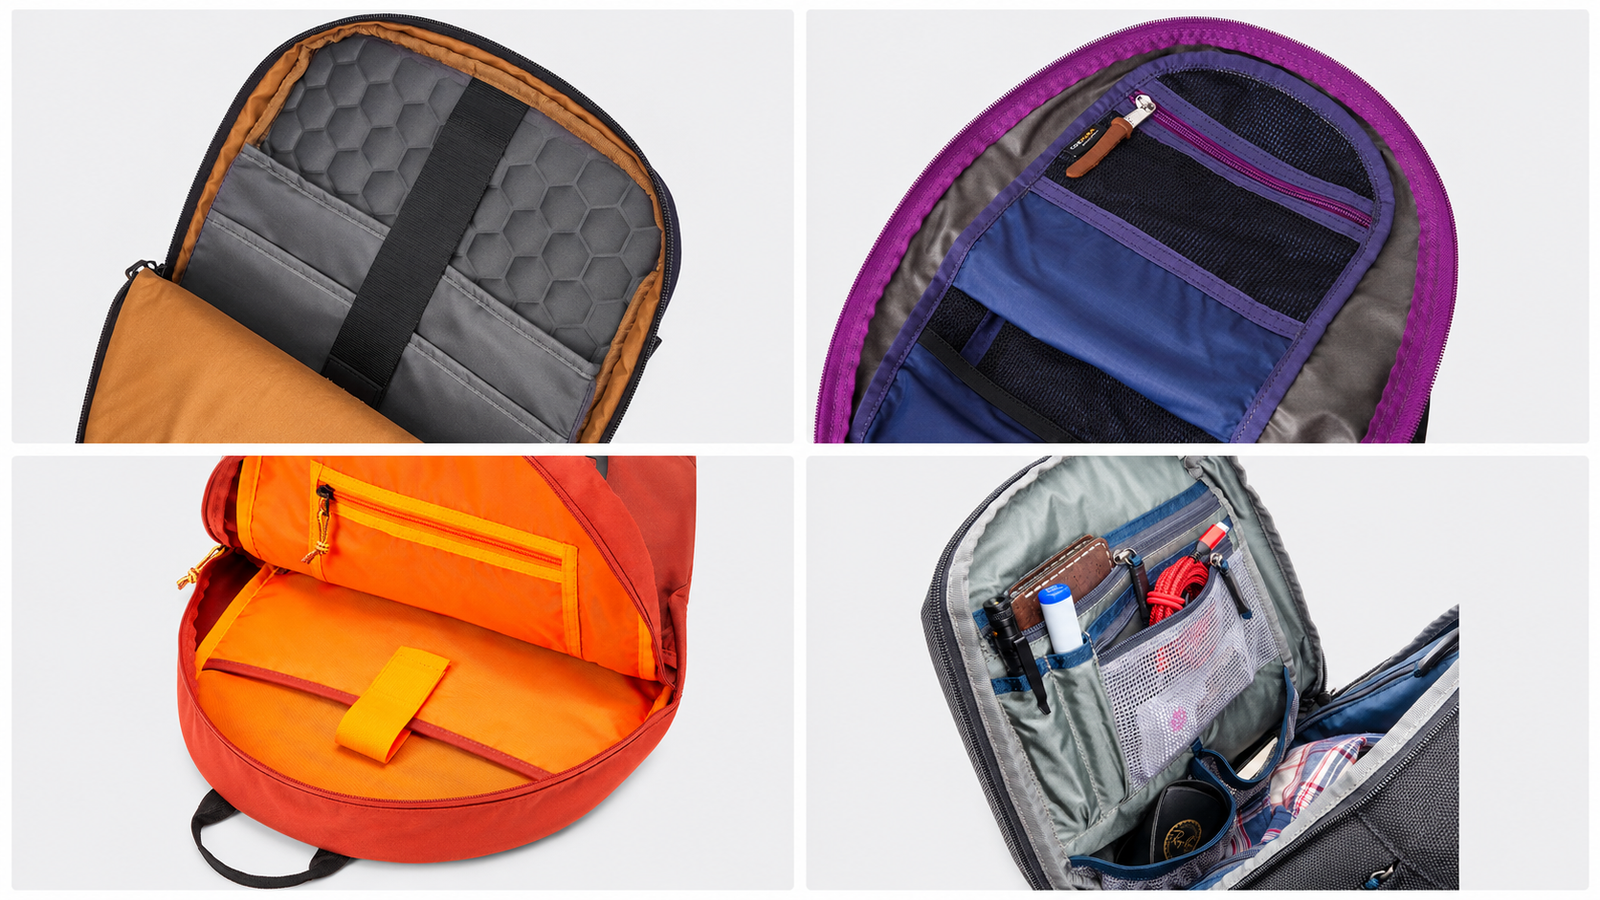
| Structure | Compartments, pockets, openings and internal organization |
| Carrying system | Shoulder straps, handles, sternum strap or waist belt |
| Materials | Shell, lining, padding, mesh, webbing and reinforcement |
| Hardware | Zippers, buckles, adjusters and other components |
| Branding | Artwork, size, location, colors and application method |
| Performance | Relevant load, wear, water-resistance or other requirements |
| Commercial requirements | Quantity by color, target price, destination market and delivery timing |
A design can look good in a rendering but still create manufacturing problems.
For example:
- a zipper curve may be too tight for smooth sewing
- a pocket opening may leave insufficient sewing access
- several thick material layers may meet at one corner
- padding and binding may reduce usable compartment space
- a decorative detail may interfere with a structural seam
These issues can often be corrected with relatively small construction or pattern changes.
The important point is to identify them before the same detail is repeated across a bulk order.
Factory note: If the target price cannot support every requested feature, establish priorities during development. Removing a low-value pocket or unnecessary custom component can sometimes reduce fabric, hardware and sewing operations without affecting the main function of the backpack.
Step 2: Select Materials and Prepare for Production
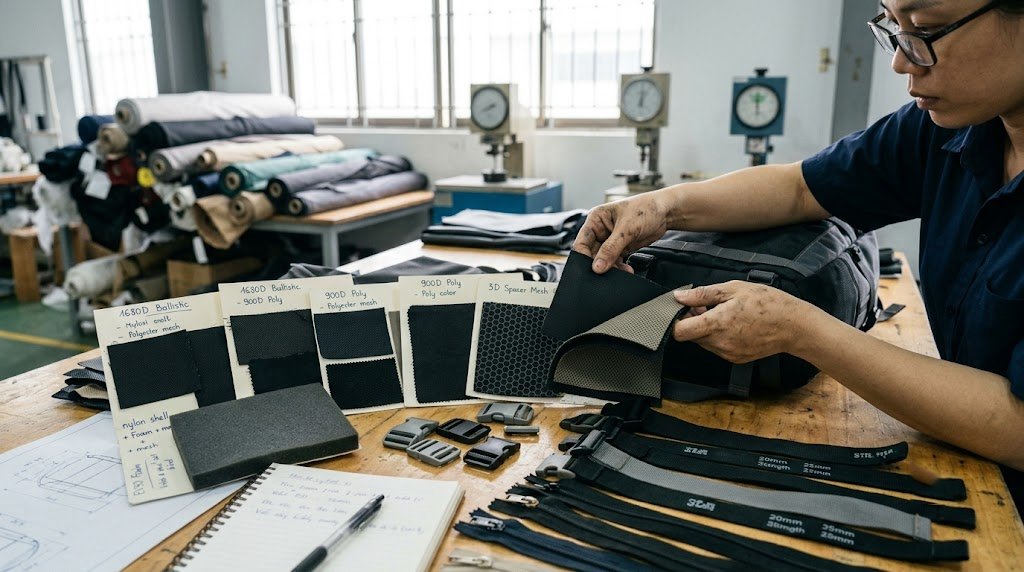
A backpack combines materials with different functions.
The shell provides the exterior surface, the lining finishes the inside, foam adds cushioning or structure, and webbing and reinforcement help support loaded areas.
Typical components may include:
- polyester or nylon shell fabric
- lining fabric
- EVA or PU foam
- spacer mesh
- webbing
- PE or PP reinforcement
- zippers and sliders
- buckles and adjusters
- binding
- sewing thread
- labels and branding components
Material selection should consider both finished performance and manufacturability.
For example, a stiff backing may help a backpack maintain its shape but make a narrow pocket difficult to turn after sewing. A thick combination of shell fabric, foam, binding and webbing may also create problems at a crowded seam junction.
What Needs to Be Confirmed?
Before bulk materials are approved, confirm relevant details such as:
- fabric article and fiber composition
- yarn denier and fabric weight where applicable
- weave or construction
- coating, backing or lamination
- approved color reference
- foam grade and thickness
- zipper, buckle and webbing specifications
- printing or embroidery compatibility
- required test results
- recycled-content or certification requirements
A description such as “600D polyester” is not a complete material specification. Two 600D polyester fabrics can differ in fabric weight, weave density, backing, stiffness and coating.
Factory note: A development sample may temporarily use a substitute fabric or component to evaluate shape and construction. Approving the sample dimensions does not automatically mean that the substitute material is approved for bulk production.
If the final production material has a different stiffness, stretch or thickness, the affected construction should be checked again.
Once bulk materials arrive, compare them with the approved references before cutting. Shade differences, coating problems or incorrect components are much easier to isolate while the material is still unused.
For more detail, see our guide to 12 common backpack materials.
Step 3: Make Patterns and Approve the Backpack Sample
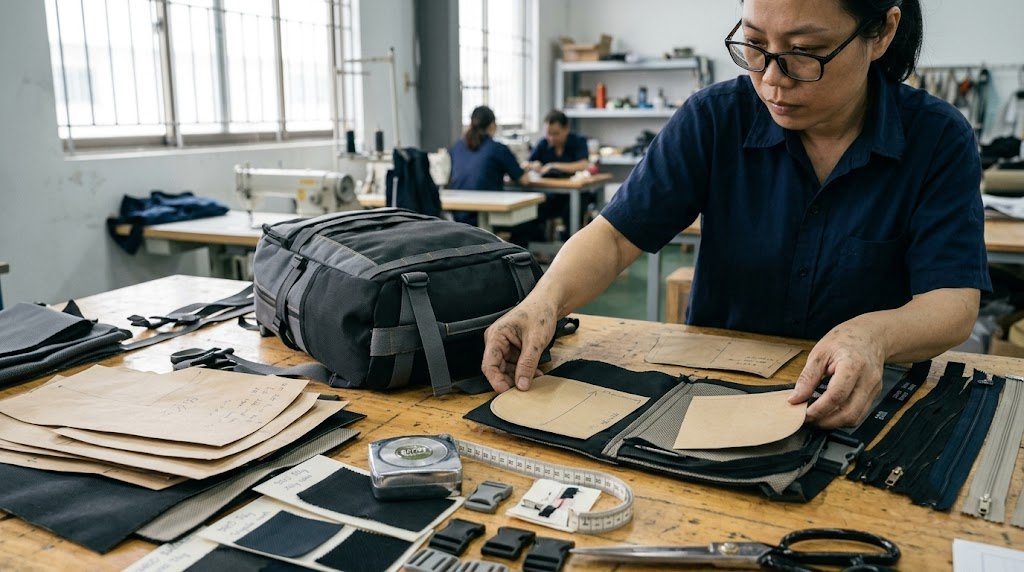
Pattern making converts a three-dimensional backpack design into individual pieces that can be cut and sewn.
Patterns define:
- panel shape
- finished dimensions
- seam allowance
- zipper openings
- pocket positions
- shoulder-strap placement
- lining pieces
- foam dimensions
- reinforcement size
- material consumption
Small pattern differences can have a noticeable effect on the finished backpack.
A zipper panel that is slightly too short can distort the opening. A laptop compartment that looks large enough in a drawing may lose usable space once foam, seam allowance and binding are added.
What Should Be Checked on the Sample?
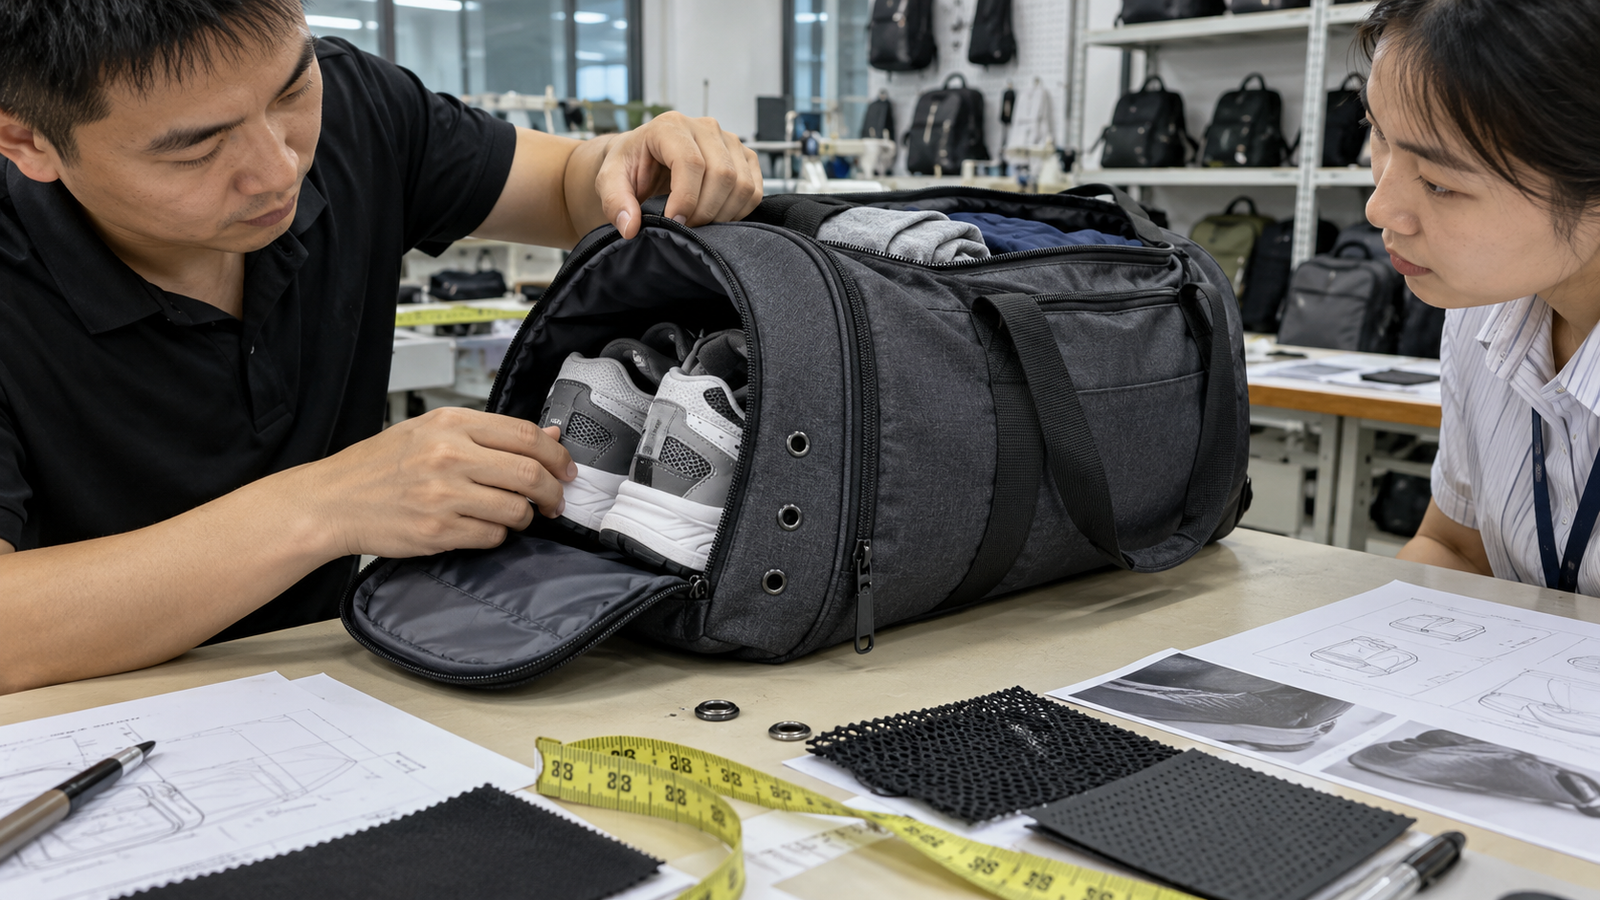
The physical sample allows the buyer and factory to evaluate details that drawings cannot fully show.
Typical checks include:
- finished dimensions
- overall shape
- compartment capacity
- pocket accessibility
- laptop or equipment fit
- shoulder-strap position
- padding thickness
- zipper operation
- reinforcement
- logo placement
- material behavior
- sewing feasibility
Whenever possible, test the backpack with representative contents, not only while it is empty.
A pocket that looks fine when flat may become difficult to access once the main compartment is loaded.
The first sample is not always the final production version. If necessary, the pattern, materials or construction are revised and another sample is made.
Release One Approved Production Version
Before bulk production begins, the following should describe the same product:
- approved physical sample
- patterns
- bill of materials (BOM)
- drawings or tech pack
- branding specifications
- packing requirements
The BOM identifies the materials and components used in the backpack. When a fabric, zipper, foam or reinforcement is changed, the BOM and relevant construction instructions should be updated as well.
Avoid leaving final decisions scattered across different emails or messages.
Factory note: If a cost reduction changes the foam, zipper, fabric or reinforcement, review the affected function again. Otherwise, the latest quotation and the approved sample may describe two different products.
For a closer look at backpack panels and components, see our guide to the anatomy of a backpack.
Step 4: Cut the Fabric and Prepare Components
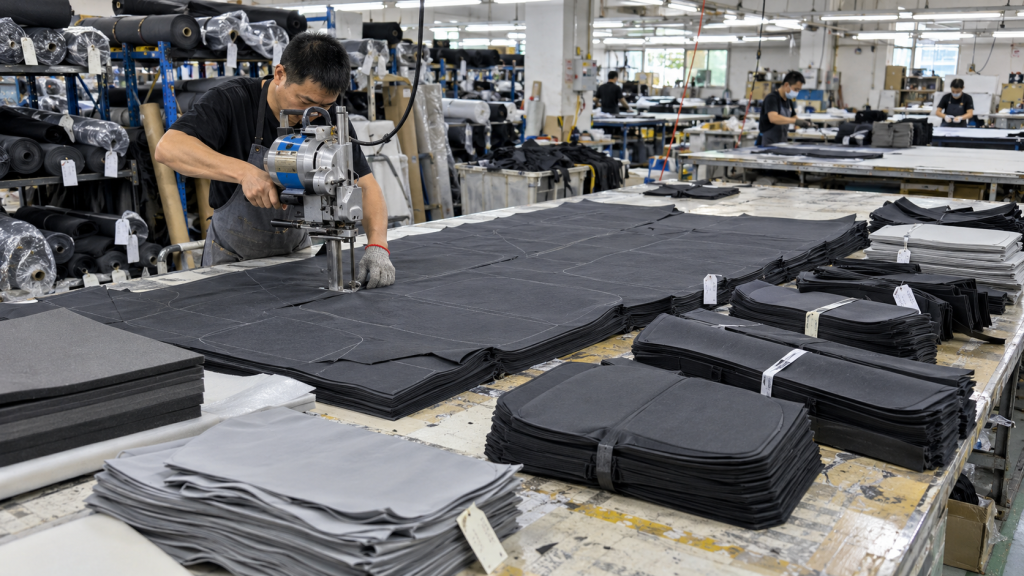
Cutting turns the approved patterns into production pieces.
Depending on the material, quantity and construction, a factory may use manual cutting tools, presses or automated cutting equipment.
Before cutting, the layout needs to account for:
- usable material width
- fabric direction
- visible defects
- shade differences
- print orientation
- pattern matching
- seam allowance
The main controls include:
- Direction: Keep directional textures, prints or stretch characteristics consistent.
- Shade grouping: Avoid mixing visibly different rolls or dye lots within the same backpack where appearance matters.
- Accuracy: Check dimensions, notches and matching edges against the approved patterns.
- Identification: Keep cut pieces organized by style, color and component.
Shell fabric, lining, foam and reinforcement may require different cutting methods or settings.
Accurately cut shell panels will not solve a problem caused by foam or reinforcement pieces being the wrong size.
Printing and Branding Need to Follow the Cutting Sequence
Some fabrics are printed before cutting. Other panels may be printed or embroidered after cutting but before sewing.
Fixed-position printed panels require particular attention because even a small cutting shift can change where the artwork appears on the finished backpack.
Artwork should be positioned against the finished seam lines, not only the raw panel dimensions.
Material utilization matters in bulk production, but reducing cutting waste should not come at the expense of seam allowance, panel direction or structural requirements.
Step 5: Sew the Backpack Panels and Sub-Assemblies
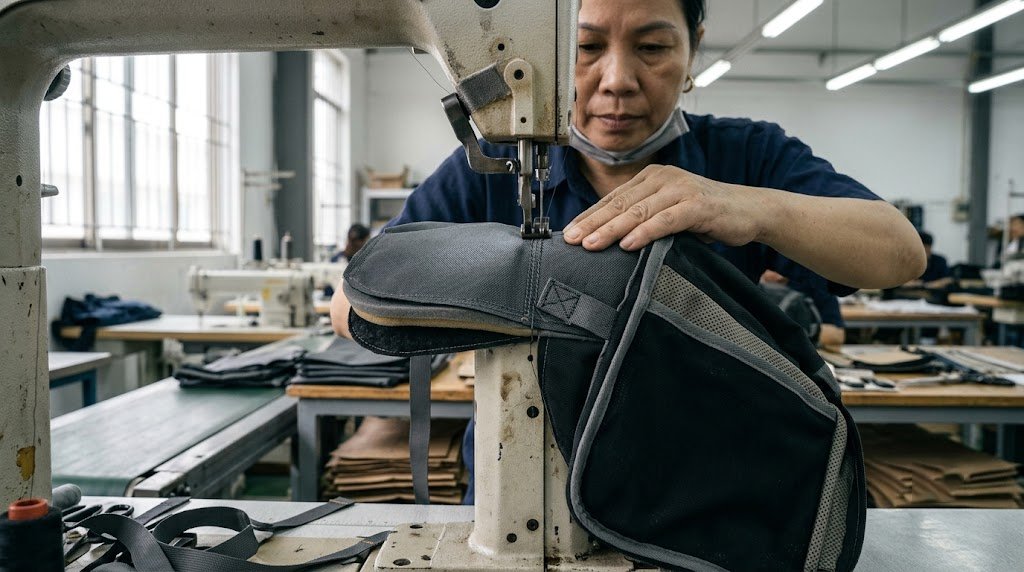
Backpacks are normally built from smaller sections rather than being sewn from start to finish in one operation.
Typical sub-assemblies include:
- shoulder straps
- carry handles
- front pockets
- zipper panels
- internal pockets
- side pockets
- lining sections
- back panels
- reinforcement pieces
These sections are later joined in the sequence required by the design.
Industrial sewing equipment is selected according to the operation and material stack. Flat panels, tight curves, bulky intersections and reinforcement work may require different machine configurations.
Important sewing controls include:
| Sewing Detail | Why It Matters |
|---|---|
| Seam allowance | Provides sufficient material for a stable joint |
| Stitch formation | Helps maintain consistent seam construction |
| Thread tension | Needs to suit the material stack |
| Reinforcement | Supports high-load areas |
| Panel alignment | Maintains finished dimensions and shape |
| Component position | Keeps pockets, handles and straps consistent |
Adding more stitches does not automatically make a joint stronger.
The stitch pattern needs to work with the material, reinforcement, overlap and direction of the applied load.
Check Hidden Reinforcement Before Closing the Bag
Shoulder-strap bases, carry handles and other load-bearing attachments may rely on reinforcement that becomes hidden once the lining or back panel is closed.
These areas are easier to check while they are still accessible.
Confirm that:
- backing material is correctly positioned
- webbing overlap matches the construction requirement
- reinforcement covers the intended load area
- stitching passes through the correct supporting layers
Bar tacks or Box-X stitching may be appropriate for some joints, but the stitch pattern alone does not establish strength.
Factory note: A finished backpack can look clean from the outside and still contain an incorrectly assembled attachment underneath the lining. Hidden reinforcement should be checked before the construction is closed.
Step 6: Join the Backpack Sections
Final assembly brings the prepared sections together into the finished backpack.
Depending on the design, this may include:
- joining front, rear and gusset panels
- attaching the bottom section
- closing the lining
- binding internal seams
- inserting foam or support boards
- completing the carrying system
- turning and shaping the bag
- fitting remaining trims or hardware
Many components must already be installed during sub-assembly.
For example, a label, zipper panel or reinforcement piece may be difficult or impossible to add correctly after the body has been closed.
The assembly sequence therefore needs to preserve access to each operation.
For a new or revised style, checking the first assembled units can help identify problems before the same construction is repeated across the order.
Compare:
- overall shape
- panel alignment
- opening size
- internal fit
- strap position
- zipper operation
A zipper that moves smoothly on a loose panel may behave differently once the opening curves around a packed backpack.
Similarly, webbing should move through its adjuster as intended and hold correctly under the expected use conditions.
A larger zipper will not correct a poorly designed opening. For more detail, see our #5 vs #10 zipper guide for bags and backpacks.
Step 7: Inspect Quality Throughout Production and Before Shipment
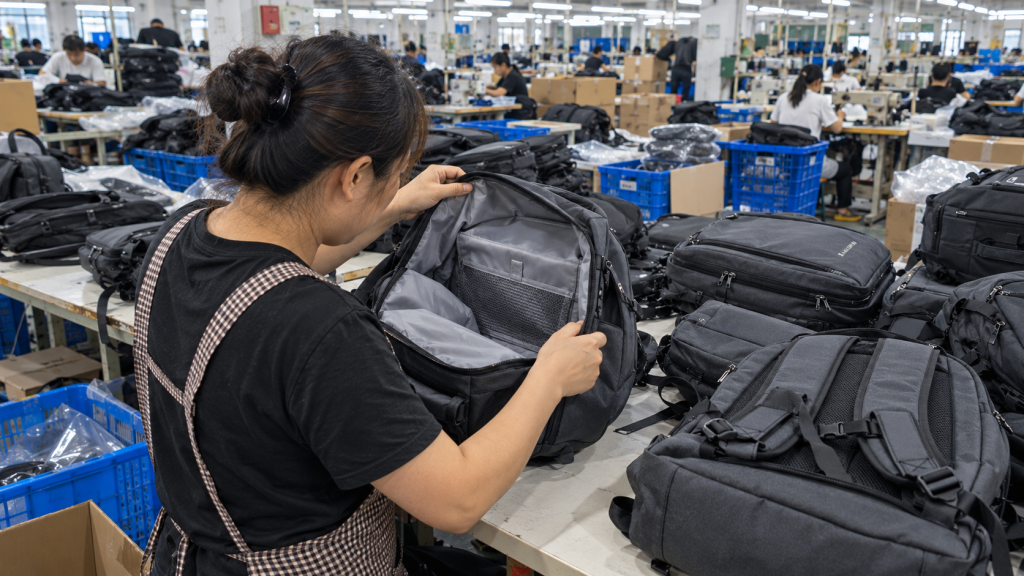
Backpack quality control should not begin only after every bag has been completed.
Problems are usually easier to correct while materials are being cut or components are being sewn.
A practical inspection process may include:
| Inspection Stage | Main Focus |
|---|---|
| Incoming materials | Identity, color, visible defects, backing and component specifications |
| Cutting | Dimensions, direction, shade grouping and matching parts |
| Sewing | Seam allowance, stitch formation, reinforcement and placement |
| Assembly | Shape, alignment, internal fit and functional components |
| Finished product | Appearance, measurements, operation, workmanship and agreed checks |
| Packing | Packing method, assortment, barcodes, quantity and carton markings |
The buyer and manufacturer should agree on:
- measurement methods
- dimensional tolerances
- defect criteria
- required functional checks
- any required performance tests
Terms such as “strong stitching” or “good quality” are too broad to serve as inspection instructions.
Inspection and Performance Testing Are Not the Same Thing
Routine inspection confirms appearance, workmanship and basic operation.
Performance testing answers different questions.
For example:
- opening a zipper several times during inspection does not establish long-term zipper cycling performance
- visually checking a shoulder strap does not establish the load capacity of the assembled attachment
- looking at a coated fabric does not prove the water resistance of the finished backpack
Where testing is required, define the method, conditions and acceptance criteria.
When a repeated defect is found during production, the priority should be to identify and correct the cause rather than simply repairing individual finished units.
For a deeper look at stitching problems, strap failures, zipper issues and other defects, see our guide to common quality issues in backpack production.
Step 8: Pack the Finished Backpacks for Shipment
Finished backpacks need to be prepared before they are placed into shipping cartons.
The packing process may include:
- trimming loose threads
- removing temporary marks
- cleaning the surface
- checking the final shape
- adding hangtags
- applying barcode labels
- inserting product information
- packing into polybags
- arranging color assortments
- applying carton marks
The packing method should match the backpack construction.
A soft, unstructured bag may tolerate a packing method that would crease a stiff back panel or deform a structured laptop compartment.
Before shipment, confirm:
- whether the backpack is packed flat, folded or supported
- individual bag protection
- inserts or stuffing
- quantity per carton
- color assortment
- barcode placement
- carton dimensions
- shipping marks
Reducing carton volume can lower freight volume, but excessive compression may affect the shape of the backpack when it arrives.
Factory note: For structured backpacks, review the proposed packing method on an actual finished sample instead of deciding carton compression only from shipping cost calculations.
Packing requirements should therefore be part of the approved production specification rather than left until the last day.
FAQ About Backpack Manufacturing
When Does the Production Lead Time Start?
There is no universal starting point.
Depending on the quotation and project, bulk production lead time may start after sample approval, deposit receipt, bulk material confirmation or another agreed milestone.
Sampling and revision time should normally be separated from the quoted bulk-production period.
Why Can Two Factories Produce Different Backpacks From the Same Drawing?
A drawing may not define details such as lining, reinforcement, foam thickness, seam construction, zipper specification or internal assembly.
Different assumptions can therefore produce different samples and prices.
When comparing factories, ask each supplier to identify the proposed material and construction specifications rather than comparing quotations from the drawing alone.
Planning a Custom Backpack Production Project?
If you are developing a backpack, send us your tech pack, drawings or reference sample together with:
- intended use and destination market
- order quantity by color
- target price
- required delivery date
- materials already specified
- branding requirements
- testing or certification requirements
These details help us evaluate manufacturing feasibility, material options and the sampling work required before bulk production.
Contact Osgoodway about your backpack production project.